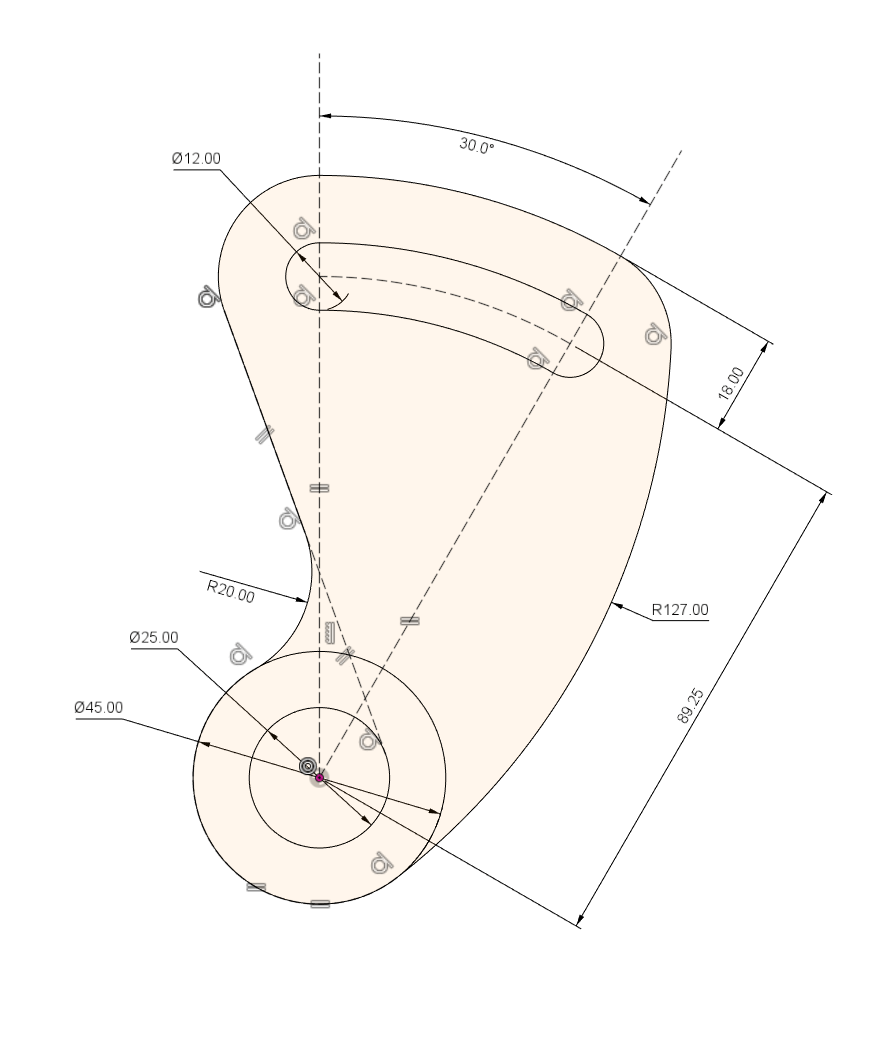
Do your 3D models fall-over when you edit feature dimensions? How about when you use that nifty dynamic drag feature? Does everything go wonky? Well, chances are your geometry is not locked down. What I mean is your model most likely suffers from a poor dimensioning or constraint strategy at the 2D sketch level. If you answered yes to my first two questions, then I’d encourage you to take a step back and review with me some of the basics about dimensions and constraints. I’m betting this may be just the ticket for you!

I’m always on the lookout for tutorials, tips, and tricks to help me continue to cultivate and hone my 3D modeling skills. Of late I’ve been delving into Fusion 360. As such, I’ve appreciated how much and often the folks over at Autodesk crank out new materials. If you are a novice you’ll greatly appreciate the


Brad provided a couple of 2D component drawings that contained enough dimensions to reconstruct the parts in CAD. The action starts at the 35-minute mark of the recorded Livestream. Before diving in it was important to study the drawings and search out the geometry and the associated dimensions. For the Control Arm drawing the right side view was most descriptive and contained the dimensions that defined the parts overall DNA. Brad carefully walked through how to model each component step by step in Fusion with an eye toward conveying as much about dimension and constraint best practices as possible.
When he wrapped up Brad invited everyone to give a go at modeling the parts in Fusion 360. He encouraged us Livestreamites to explore and to have fun. That’s exactly what I decided to do!

I downloaded the prints and set out to build a robust parametric model with well-tuned constraints and dimension at the 2D sketch level. I chose to construct the first primary 2D sketch on the default XY plane such that the base rests on the horizontal surface. This seemed to make a nice viewing angle in the home position. Once I completed the main geometry, to add my unique twist, and


If you want to free yourself from unstable and unpredictable CAD models, I’d encourage you to invest the time to develop good dimension and constraint practices. Hop over to Brad Tallis’ YouTube channel and gobble up some of his Fusion 360 Tech Tuesday & Thursday content.
As always, keep learning!
Skillcoach


