Seeing one’s ideas come to life right before you is a thrill! That’s what can happen when you set out to explore your creativity by making stuff. You may have questions such as “Where do I start?” Or, “What materials and tools do I use to construct my idea?” Look no further (at least for the moment) because today’s post features another how-to tutorial by Eric Strebel. For some, Cardboard Basics should be a welcome refresher. But for all you newbies to the world of 3D model construction, this tutorial will be just the ticket you need to get off to a good start.

Craftmanship
Eric opens this tutorial with several questioned, all with the aim to highlight the importance of cultivating craftmanship. His basic point is the tools and materials you use will either help or hinder the construction process. More importantly, poor craftsmanship in terms of crooked lines, excessive glue, tape, and distorted objects all services to diminish the actual or perceived value of the object you are creating. Poor craftmanship disrupts your ability to showcase the aesthetics and/or functional qualities of the model that you’ve labored so hard to make.


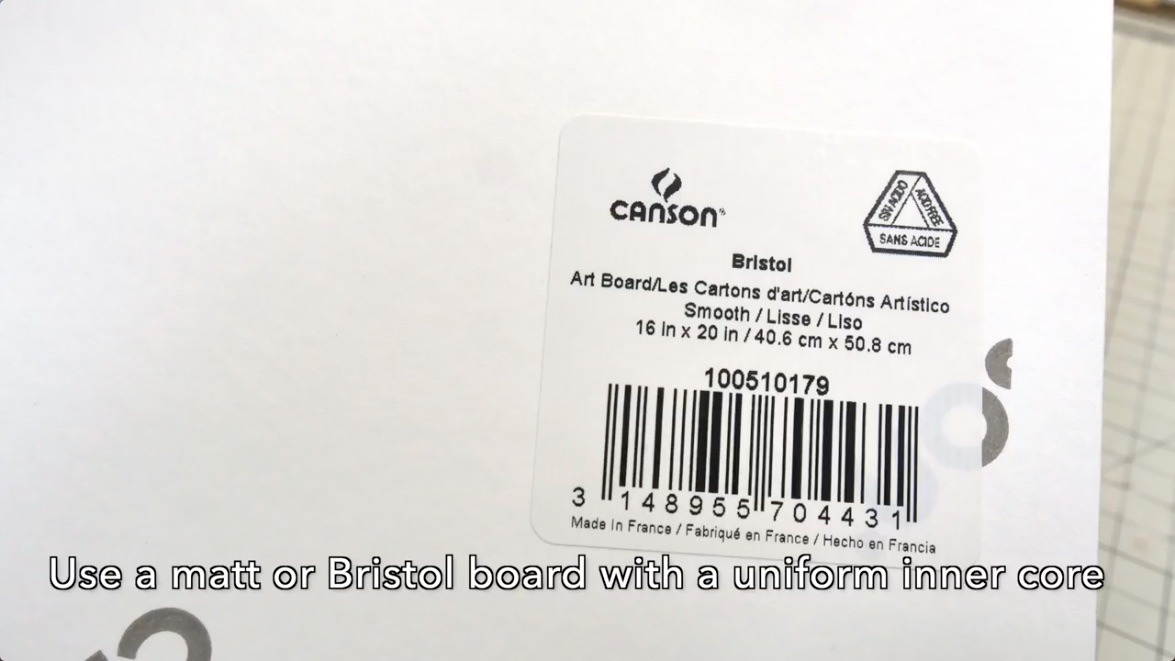
Tools Of The Trade
There are two major things that greatly influence your ability to construct a well-crafted mock-up. One is YOU. Don’t be in a hurry. Take your time and carefully follow any instructions and techniques as closely as possible to how they were conveyed. Learn from those who have command of the subject first, then branch out afterward. The other influencer is TOOLS. In every category of creative pursuit, there are tools-of-the-trade. Eric describes and demonstrates several tools he uses that enable him to consistently and efficiently construct high-quality mock-ups.


Construction
Now the fun part! Eric is pretty thorough in showing the process step by step. Watch and listen carefully and glean out the nuggets of model building wisdom. I’ve highlighted a few images of the construction process that stood out to me.

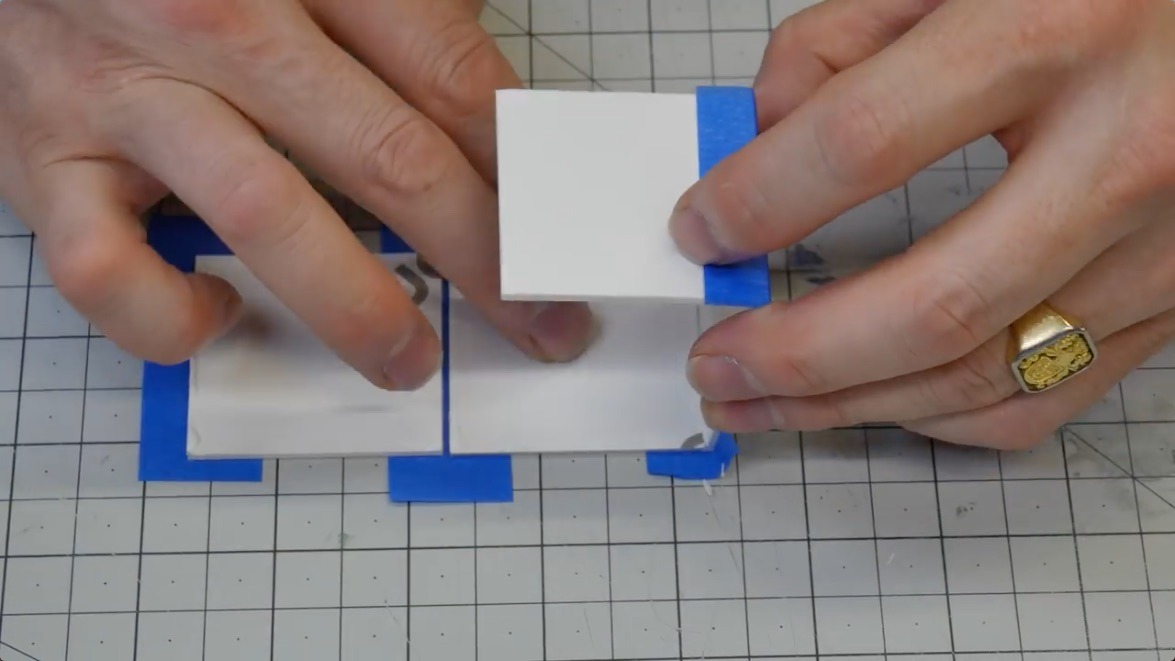
In order to assure alignment of pieces and to make the construction process easier low tack painters tape was used. The spacing of each piece was spot on. After the glue dried the tape is simply peeled away.


The same assembly process was used on the chipboard. One neat trick for constructing the notched out area on the cube was to first install a subfloor inside the vertical walls.
Though the construction materials may vary according to your needs, the techniques remain the same.

Eric is planning a series of tutorials for those of us who are chomping at the bit for more. Stay tuned!