Have you got an old laptop laying around that still boasts decent performance specs but is too banged up to take on the road? Are you looking for your next DIY electronics project? Well, Youtuber Matt of DIY Perks may have just the project for you! We’re talking an All-in-One PC conversion. Yep, a makeover in both form and function. The video walks you through an entire All-in-One build and is packed with helpful tips. Below are a few key process nuggets I gleaned from watching the video. Hopefully, they’ll help you decide if taking on an All-in-One PC makeover is your “Cup of tea”. Enjoy!
Step One – Teardown Donor Laptop
Once you’ve located a suitable donor laptop the first step will be to do a complete teardown and assessment of the condition of the individual system components. Since the motherboard (MB) is the heart of the computer extracting it is the first order of business. In this laptop, the MB is sandwiched between the keyboard, upper bezels, and back housing. Typically screws are easily spotted and removed. But occasionally expect to encounter hidden snap features. So be on the lookout and take your time at getting the pieces-parts to disengage.


In Matt’s build, he discovered that the cooling fan and heatsink had suffered damage and needed to be swapped out. A quick eBay search yielded the required part.

Step Two – Breadboard Component Function Test

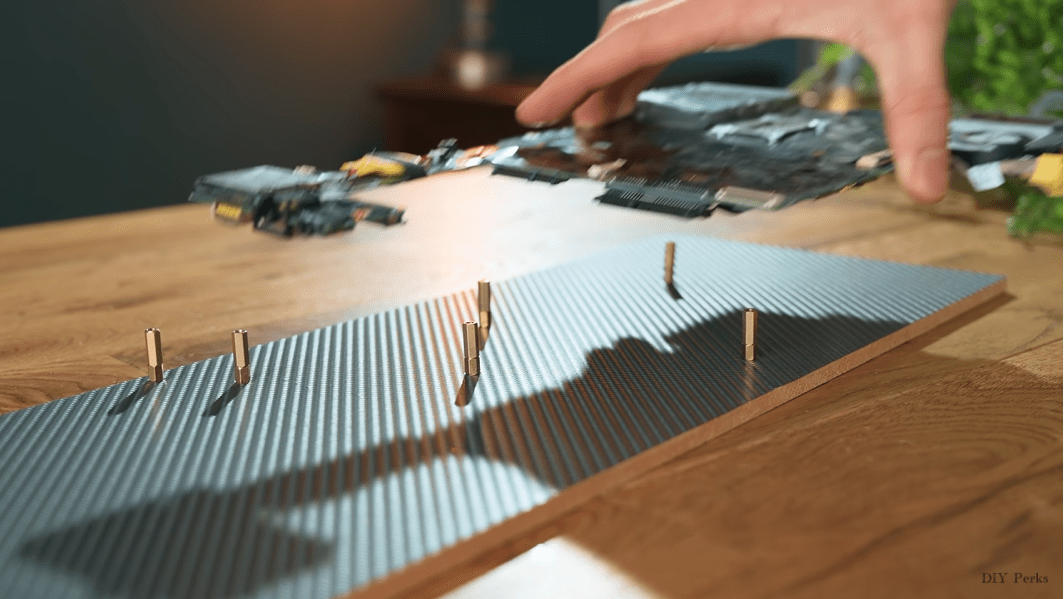
This step is something on the order of a PC “Out-of-Body-Experience.” The success of the All-in-One conversion depends on the ability of the donor components to work separately from the OEM chassis. This means patching the PC innards together and performing a power-up! Turns out in Matt’s build a power-up was doable, but not without a hitch. Unfortunately he found the power button is integrated into the keyboard module spoiling his plans to immediately discard the keyboard which is somewhat of a space hog.
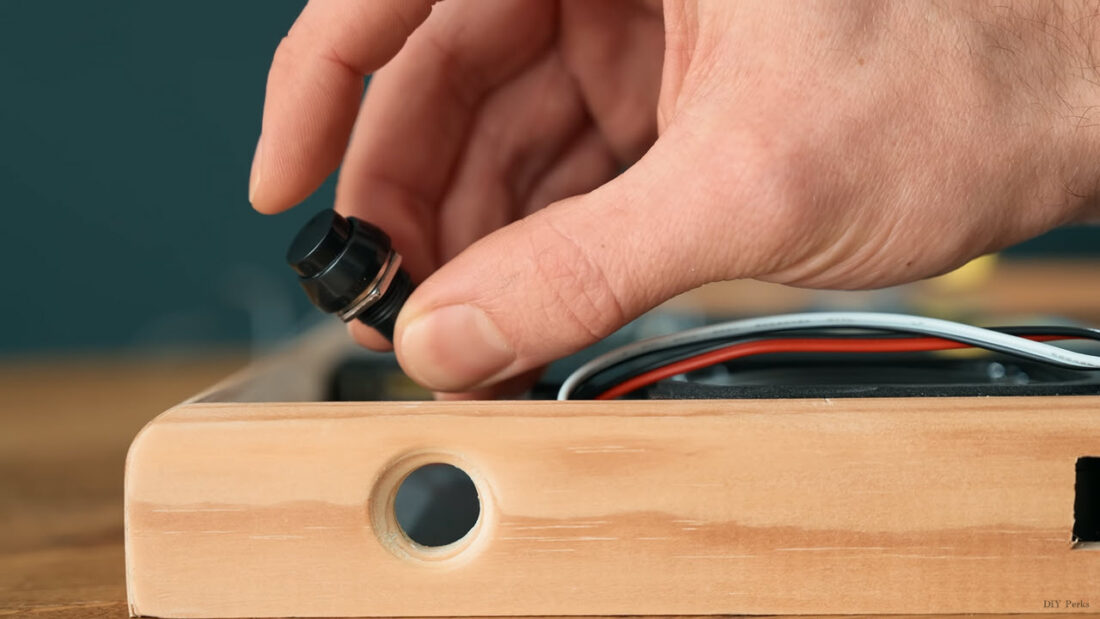
MOD ALERT #1– The integrated power button discovery marks the first custom modification that will be required as part of the All-in-One build. The design of a unique power-up module is added to the build list of tasks.

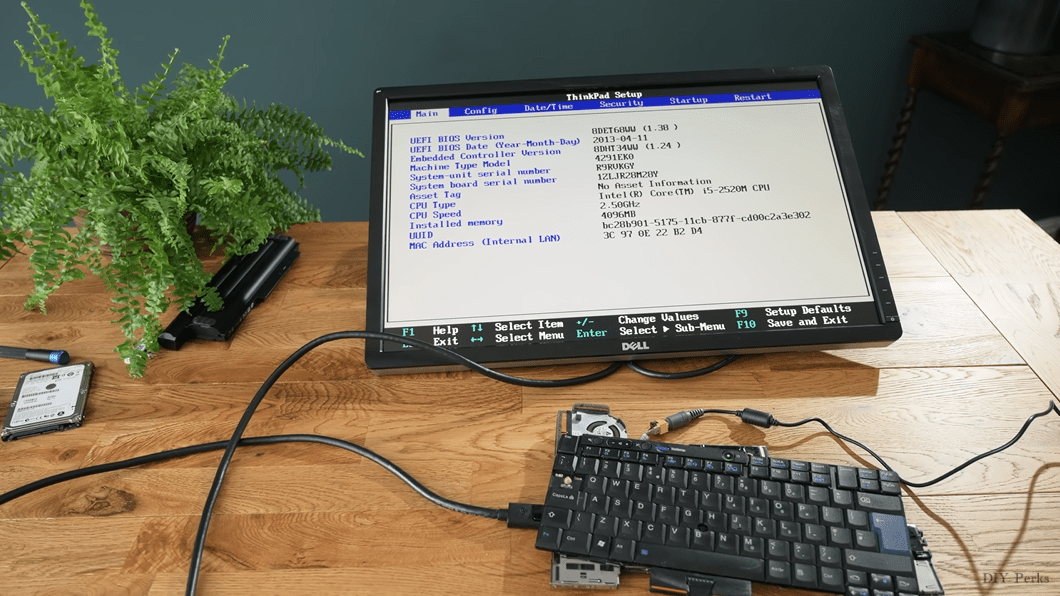
BIOS access is the next big hurdle given the components are separated from their OEM configuration. The ability to adjusting system settings and to refresh the Windows operating system depends on proper BIOS access. Fortunately, most manufacturers had the forethought to include a function button that when repeatedly pressed cycles through the required display outputs.

MOD ALERT #2 – BIOS access will be necessary to properly configure the system to boot-up and be ready for action as an All-in-One. Modification to the boot-up parameters is best accomplished before discarding the original integrated display.
Step Three – Upgrade System For Enhanced Performance
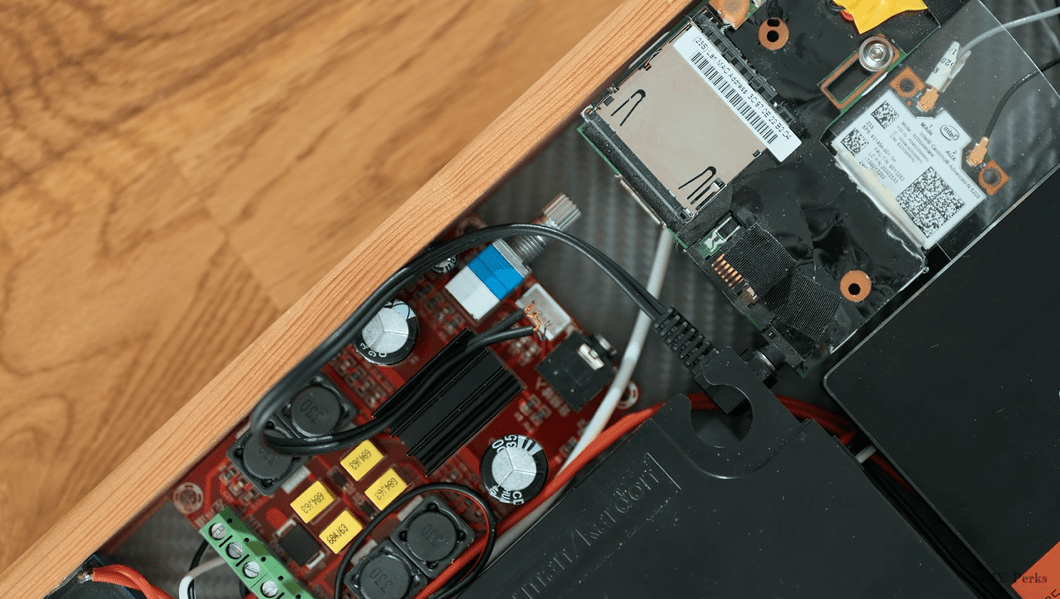
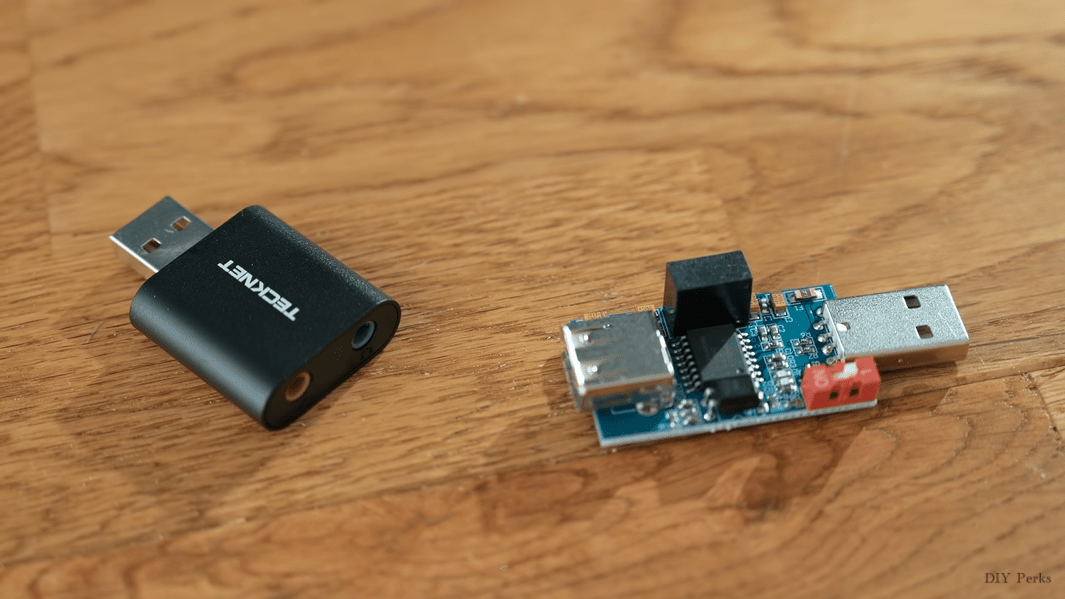
The donor laptop had only 4 gigs of ram and could benefit from receiving a boost. Matt replaced the single memory stick with two 8 gigabyte sticks for a total of 16 gigs. A SATA SDD drive was added to store the operating system. Additionally, a USB 3.0 expansion card, monitor cable, and an external USB 3.0 hub were added. These components complete the system upgrade.

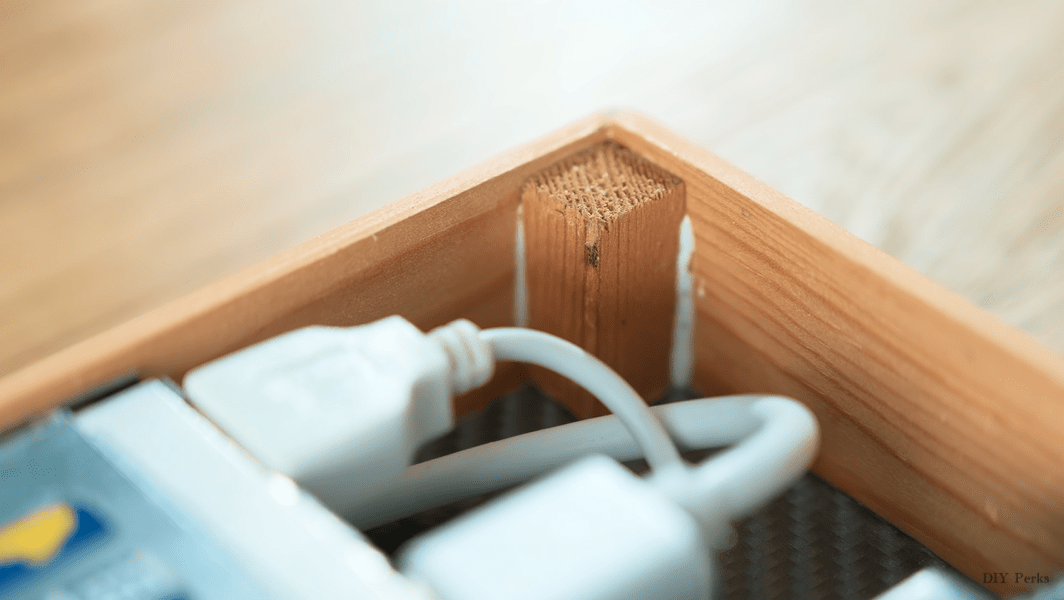
MOD ALERT #3 – Connections to accommodate external peripheral will need to spec’d. These components should be self-contained and have the flexibility to be mounted wherever called for in your All-in-One housing configuration.
Step Four – Construct All-in-One Chassis
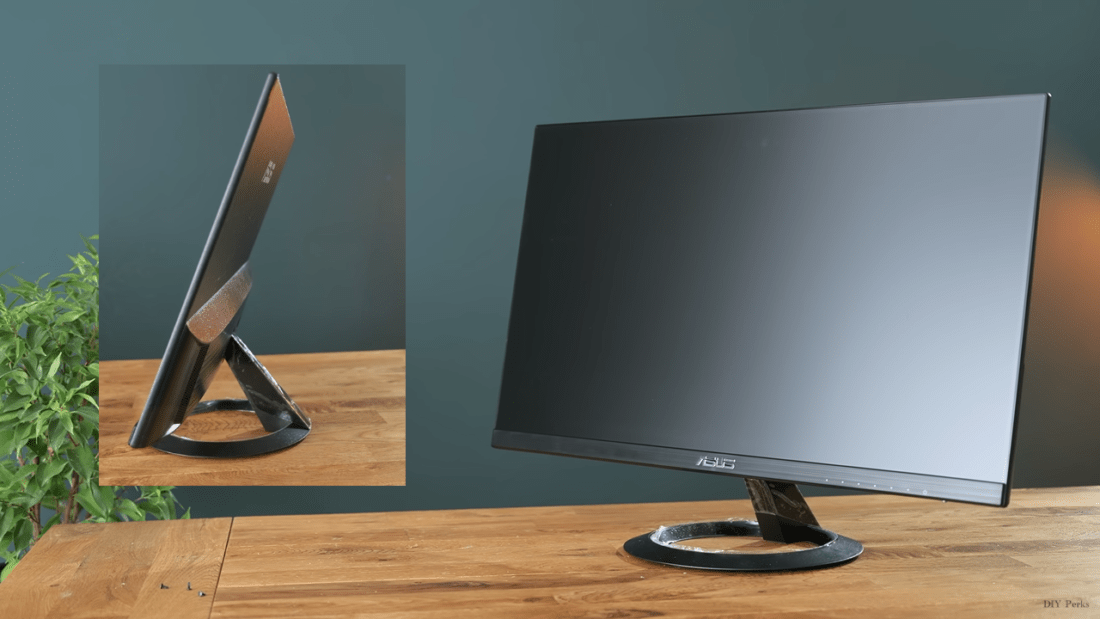
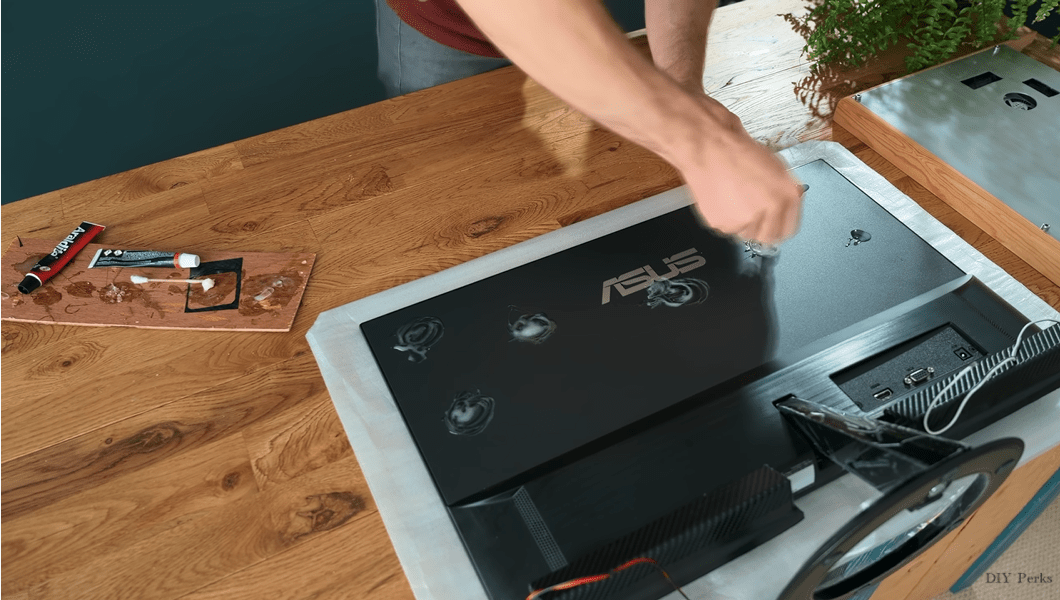
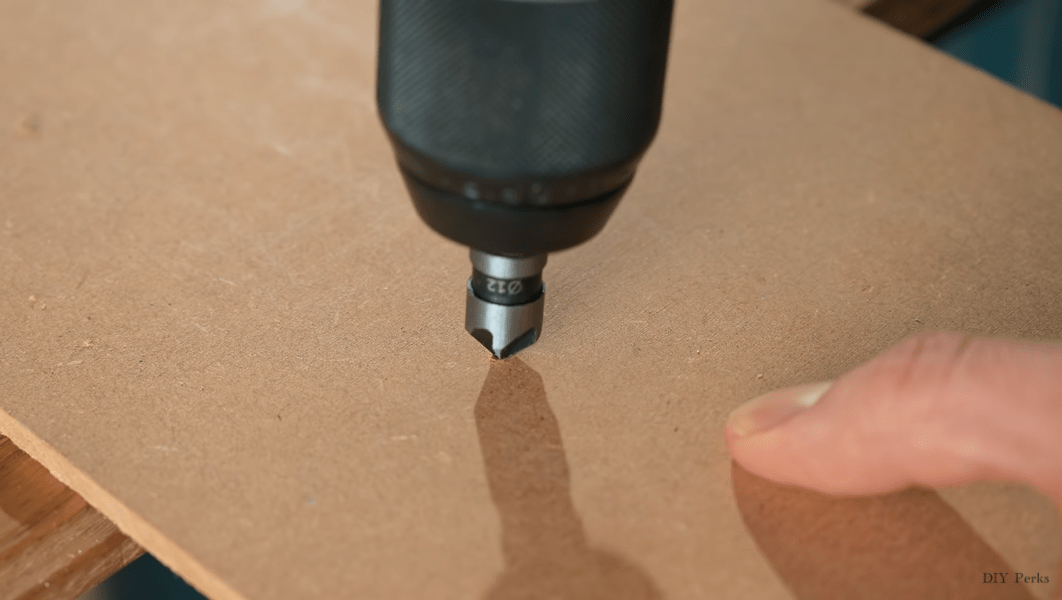
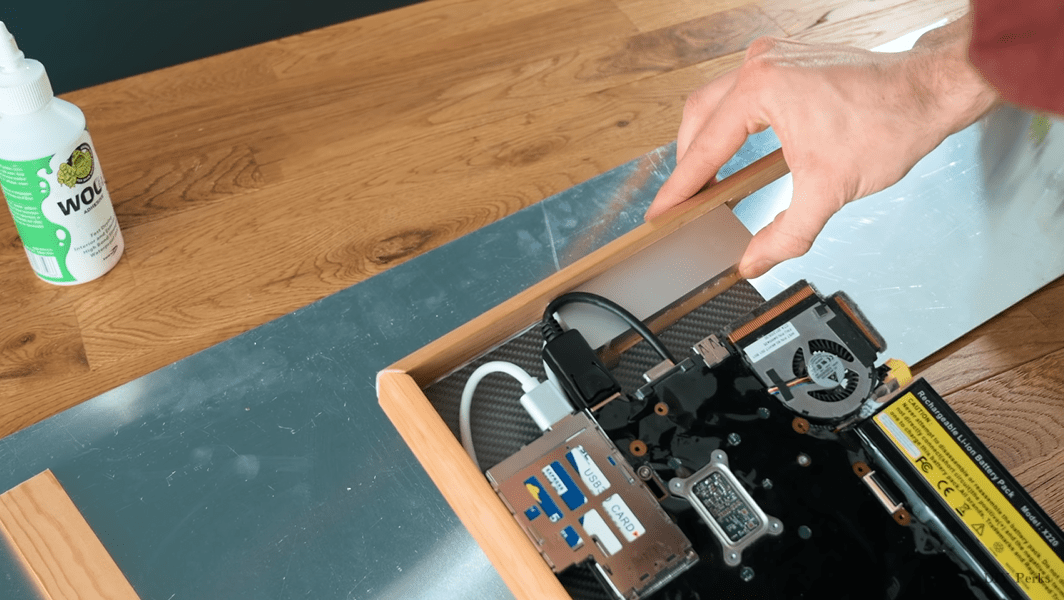
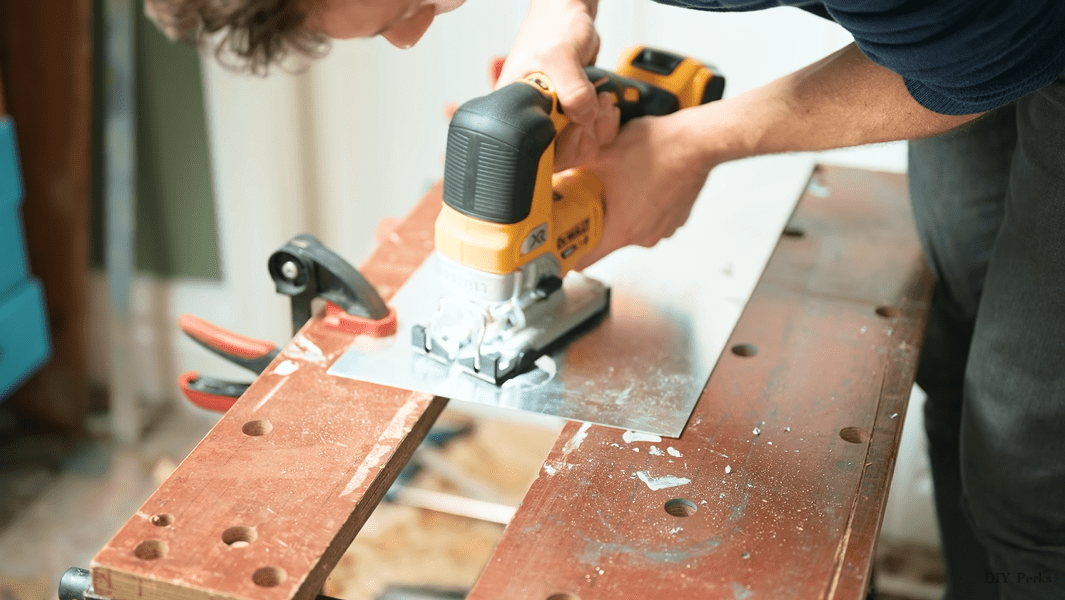
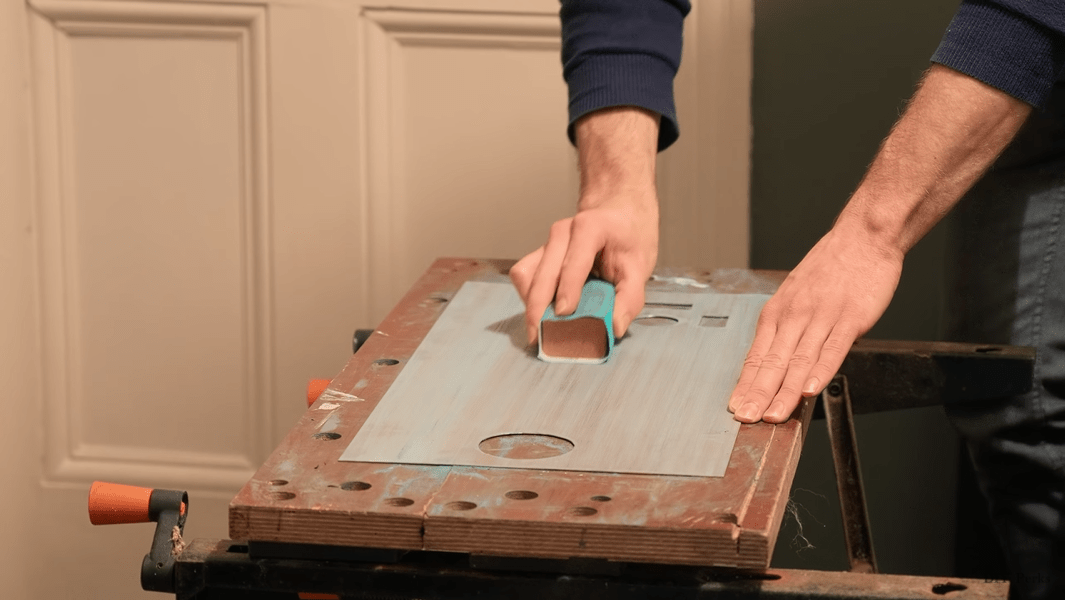
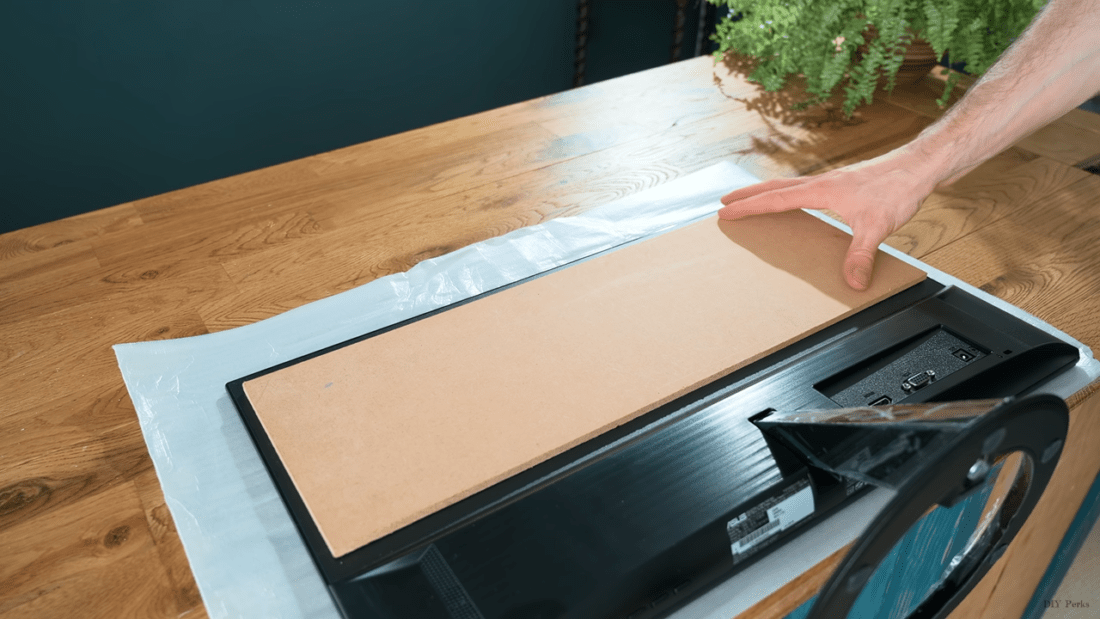
Being satisfied that the component parts fire up and are configurable its time to build the new housing or chassis to contain everything. First up is to select an appropriate monitor. This build called for an Asus VZ249HE 23.8″ owing to its thin, low profile housing. Matt chose a combination of MDF fiberboard, solid wood, aluminum, and some faux carbon fiber sheeting as his Color Material Finish (CMF) pallet.
MOD ALERT #4 – The housing of the selected monitor for the All-in-One should be relatively flat on the back and suitable for mounting the new All-in-One housing using adhesives and/or screws without inhibiting display function.
Step Five – Construct Audio
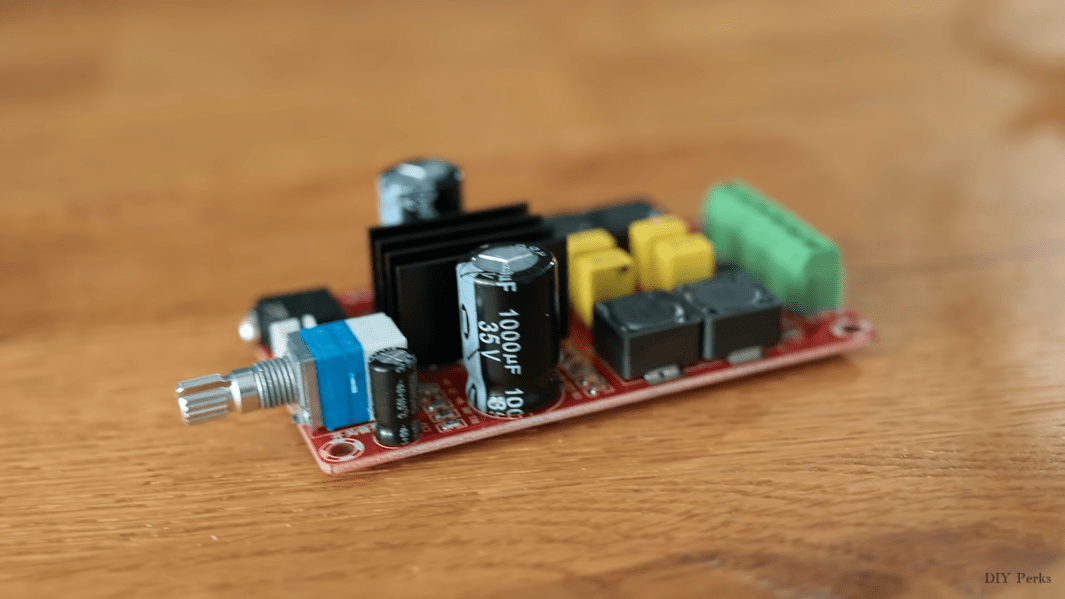
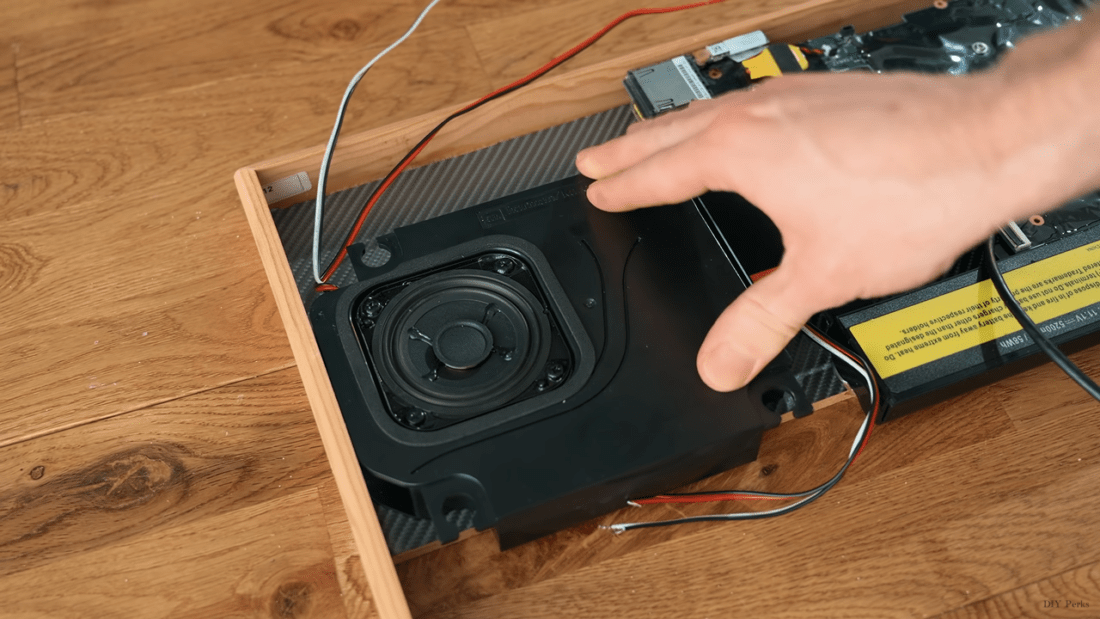
Adding integrated audio is the last step of Matt’s All-in-One build. The speakers were salvaged from an old TV and modified to work in the build. Each was completely self-contained in housings that could be easily mounted inside the new chassis.


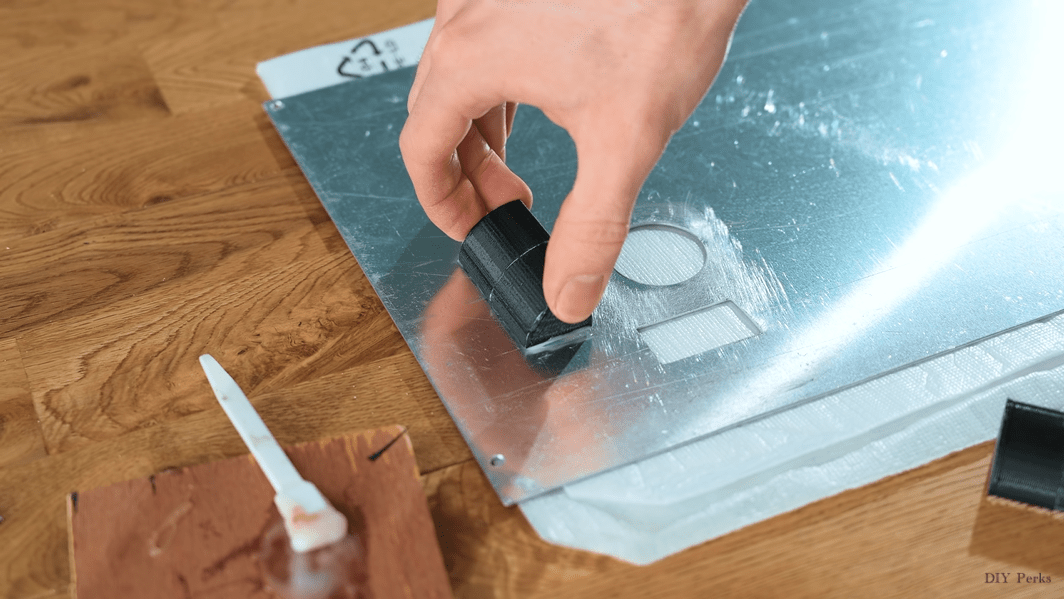
Given the speakers would be mounted low and forward on the monitor a custom mesh and 3D printed bezel were made to protect the speakers from damage.


The completed system powered up nicely and after a little tweaking worked and sounded great! Matt’s build was a success. So there you are! So, after learning the challenges Matt faced and the techniques he used to overcome them, perhaps you are ready to give a go at building your own All-in-One PC. I hope so!


