I build a lot of mock-ups and prototypes of various consumer products that I design for my clients. I cast a lot of parts in silicone molds, but I don’t cast a lot of silicone parts, much less gaskets. So, this project will take an existing process and combine it with 3D printing in a new way to make something different.
I was faced with an interesting challenge–cast multiple silicone seals for a make-up container I was designing. I had to craft a gasket that would create a nice secure feel, to make the customer feel confident about picking up the container by the lid without the fear of it coming off and dropping on the floor. I also needed to do this in a limited amount of time and at a reasonable cost.
My first step was to chat with Scott McCausey, the technical manager at Innovative Polymers, to try and figure out what material would be good to cast a nice soft flexible gasket with. I initially assumed I would use a soft “Shore A” urethane for the project. After a bit of back and forth email, Scott suggested I 3D print the mold and just cast the parts in Silicone. Clearly he got up earlier than me that day and on the opposite side of the bed than I did! I thought, “HUH! That is a pretty good idea.” So, I decided to try it.
I already had most of the prototype printed at this point and really just needed to make the silicone gaskets to finish the mock-up. The client had provided a sample product, so it was down to an educated guess to design the gasket of my container.
I do almost all of my CAD in Autodesk Fusion 360. Creating the gasket mold was straight forward, just like most everything else I use Fusion for. In order to create the parts without any issue or overhangs, I decided the split the mold up into a few parts. This would also help me with the demolding later when I cast the parts.

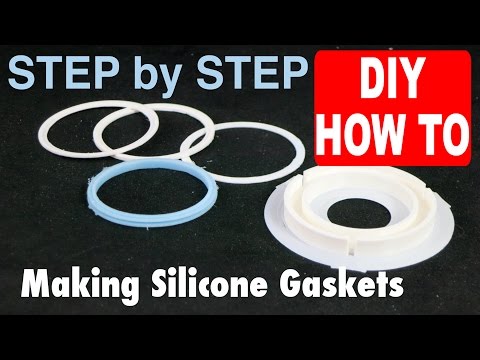
I printed the four sets of molds on the Ultimaker 2 in PLA. I printed out some variations to test different interference sections. This worked out wonderful. It gave me a backup in case one of the castings went haywire. Cleaning up the parts was pretty straight forward as well. They were slightly delicate, so I just needed to take my time. Once they were done, I snap the rings together in the right order and move on to the next step, Silicone.

I used a GI1040 from Silicones Inc. distributed by Innovative Polymers. It’s a high tear strength, tin catalyzed RTV2 silicone rubber. It worked great for this application–tough and stretchy and held it’s shape beautifully. I used standard techniques when dealing with a quality silicone, mixing thoroughly, then mixing some more, and finally degassing to remove all the air in the vacuum chamber.
Since I was injecting the silicone into a relatively small area, I loaded it into a syringe so I could inject it by hand into the cavity of the molds. Once the silicone was loaded in the syringe, I placed it back into the vacuum tank to remove any trapped air, so I would have a nice air-free mixture for the injecting process.
During the injection process, I was able to force the silicone into the negative cavity of the mold quite easily, I was able to see the material flow out in front of the injection tip, telling me things were flowing nicely and I should get a successful part.

I needed to speed up the cure process for the silicone so I placed it in my pressure tank to add some heat to speed things up. Normally, the silicone takes a good 18 hours to really set up for demolding, but with some heat it was ready to go in the morning after about 12 hours.
All that was left after the parts cured was to trim the overflow and demold them from the 3D printed molds. First I trim off the excess silicone on the top of the mold left over from the injection process and then unsnapped the parts from the main race that holds the ring layer together. I use a dental pick to pull the rings out of the mold and peel off the rubber band like silicone part. Easy as pie.

Here is the finished silicone gasket on the PLA mockup part. It worked great, I was pleased and most of all my client was absolutely thrilled to see their idea come to life. Being able to hear that lid part pop off and feel how secure it was was very comforting.