
One day while I was working in my shop I simply thought, “what if I packed an LED Throwie into a paintball?”
LED Throwies (LT) have always fascinated me. Little complete systems with high-visibility and interactivity; just a little light with a big impact, visually, even artistically. LTs are typically thrown at ferrous metal walls or structures for whatever the user wants to accomplish. I thought why not shoot them out of a gun! It would make distribution of LTs much.. much easier. Imagine.. dispersal of LTs by the hundreds, like light-up spray paint. Or living out your Doom plasma rifle dreams. All part of my inspiration.
I shot the Starlight paintballs out of a Tippmann TPX, a Spyder Hammer 7 pump action, and a Spyder MR3 at full auto (see video below). To avoid blasting the delicate paintball shells apart before leaving the gun, I lower the velocities in all the markers. Which at close range was fine, distance was lacking. In the end, these were cooler than I thought they would be originally. If you haven’t watched yet.. go for it. Everyone else, continue on through my build description.
Disclaimer: Absolutely do not make or use these in paintball guns or games. These are not meant for anything but effects or curiosities. You will hurt people with them, big time!
Materials
To make 100 Starlight Paintballs you will need*:
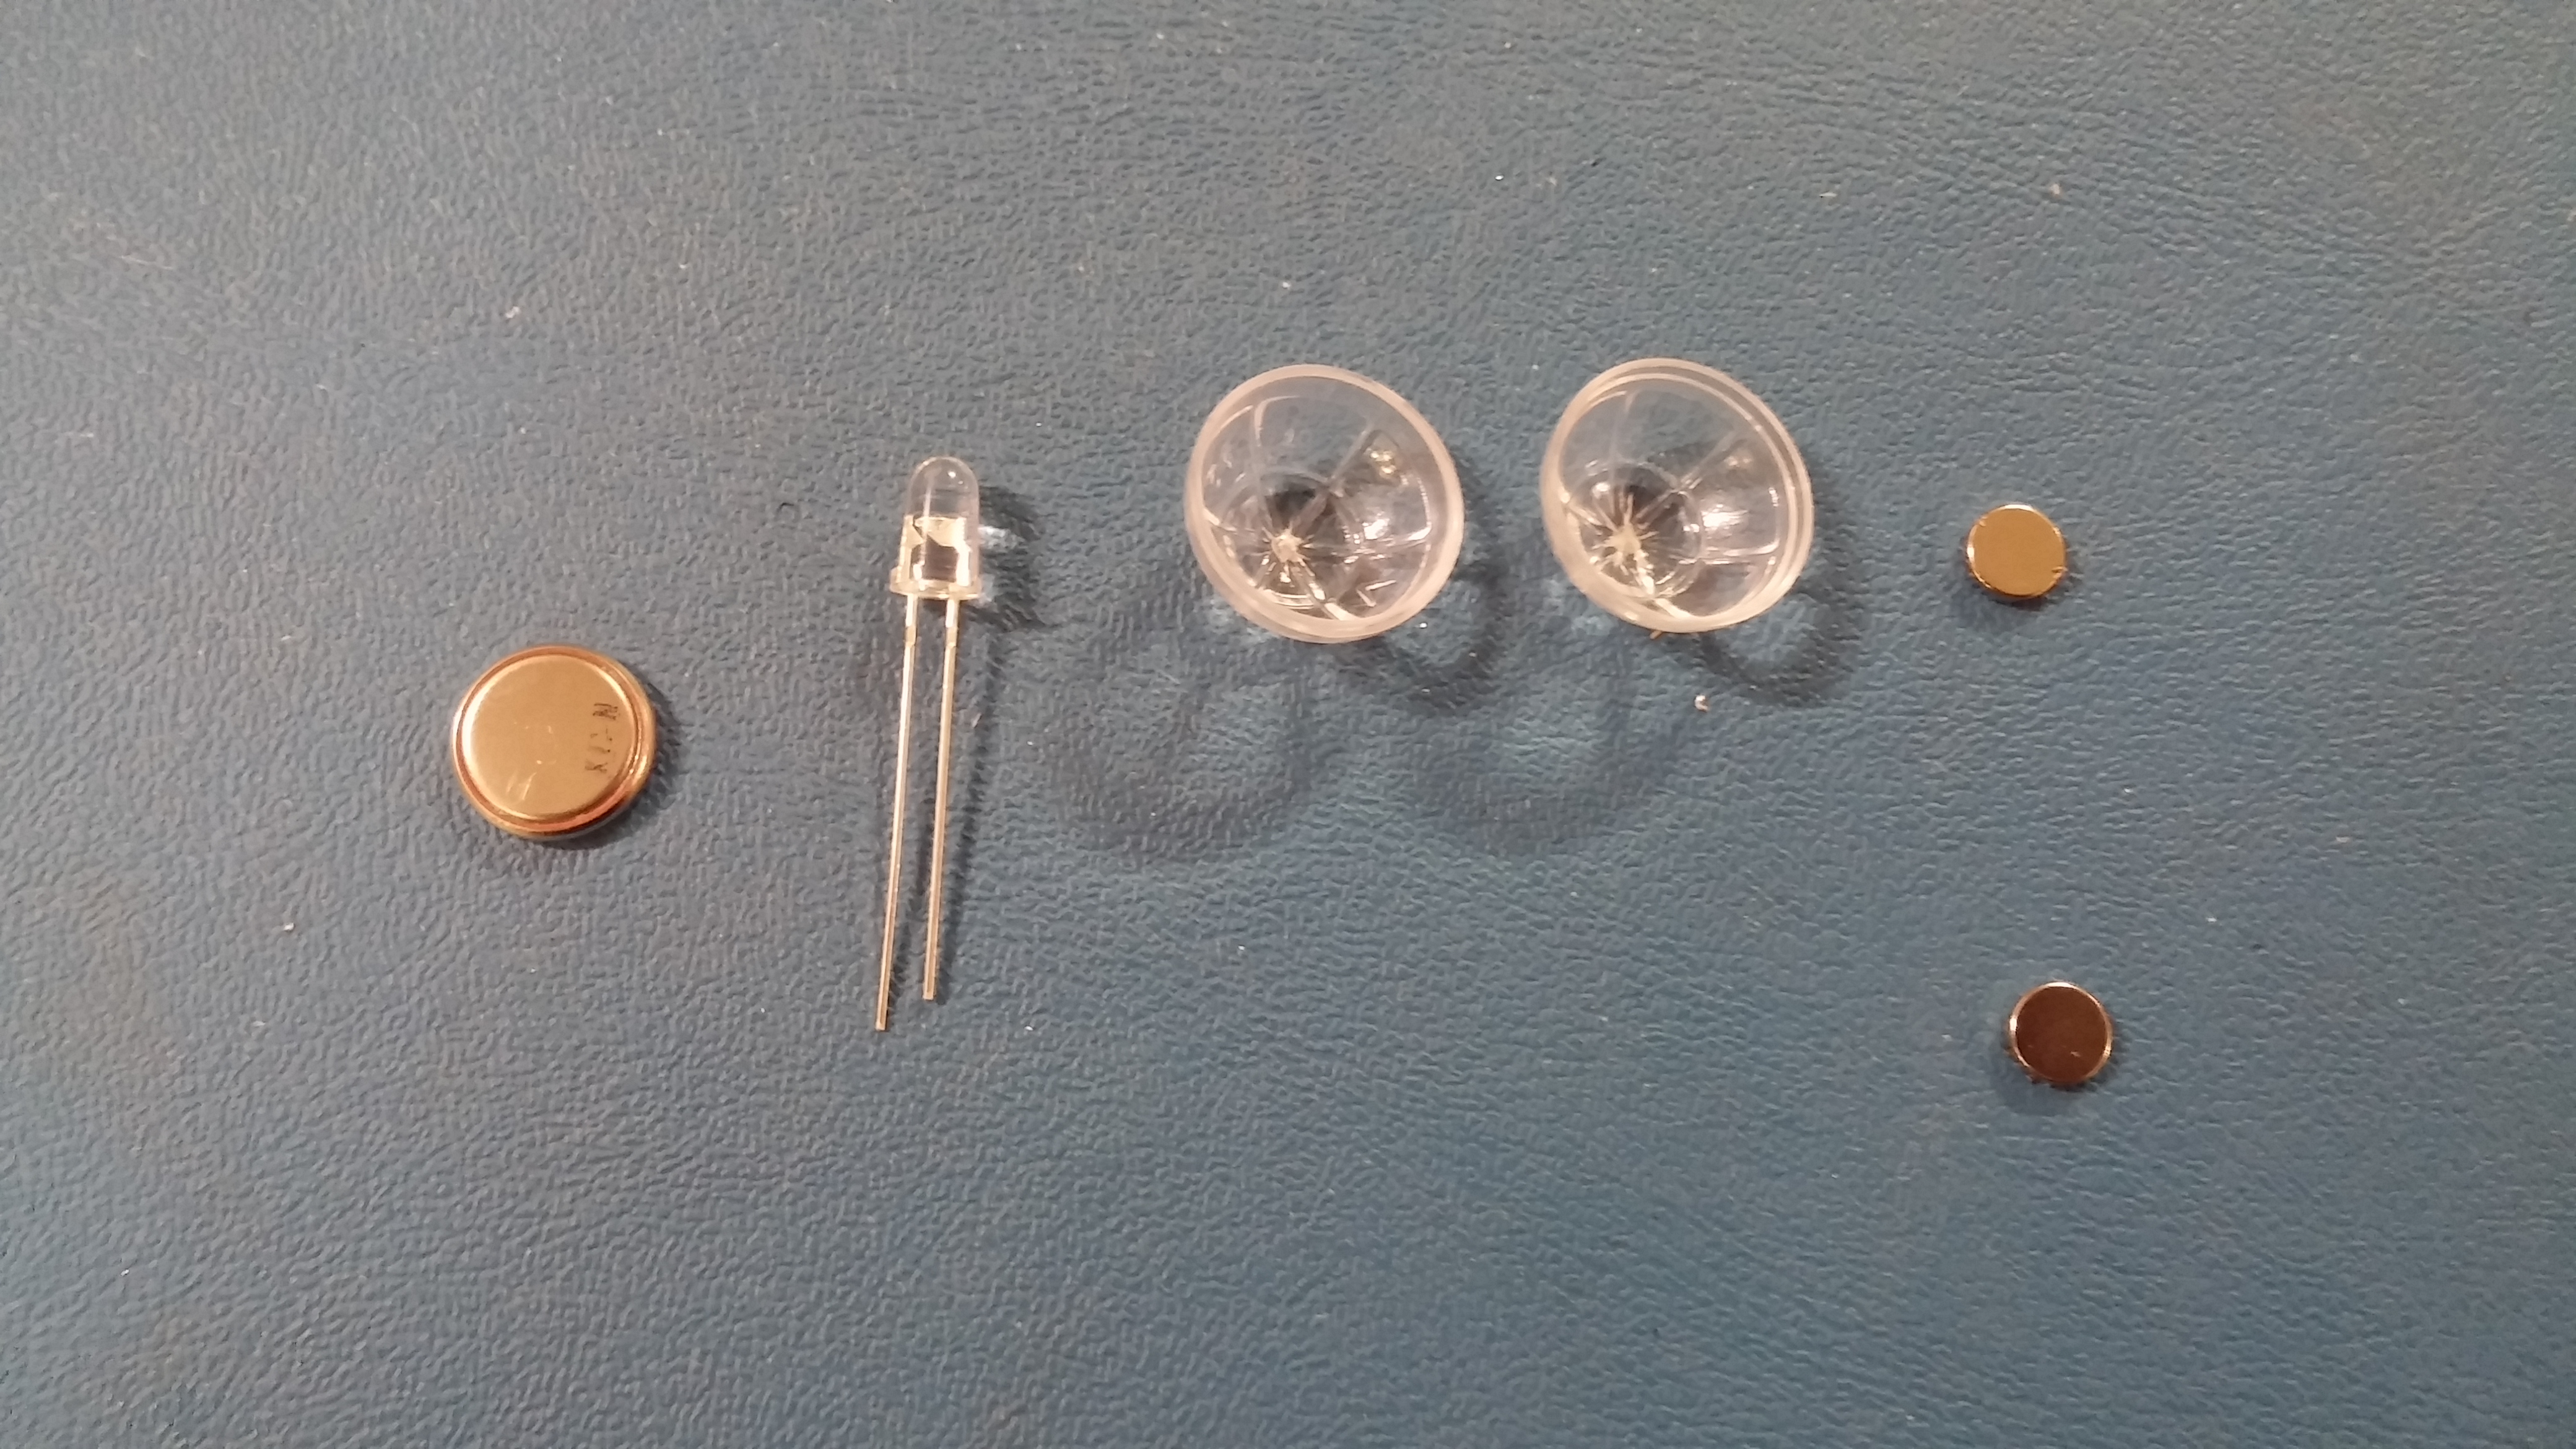
- 100x 10mm Diffused LEDs (Any mix of colors)
- 100x 10mm x 2mm Powerful Rare Earth Magnets
- 100x CR2032 Coin Cell Batteries
- 100x Paintball Shells
- 100x 3/8” Heat Shrink Tube Cut to a Length of ½”
Tools:
- Torch or Heat Gun
- Clear-Drying Hobby Glue
- Paintball Gun
*Note that the average price is around $1.00 to $1.25 USD per Starlight Paintball as tested. Feel free to lower or raise your quantities as you see fit.
Modifications
- The Paintball shells I used were a bit oversized. A barrel with a bore of greater than 0.70” was necessary. I ended up boring and honing out the TPX barrel to 0.71” (inches).
- The TPX OEM breech block (aka barrel adaptor) wouldn’t allow the paintballs to feed through properly. The barrel screws into this block, the paintballs feed from the magazine into it, and the bolt also actuates through it.
- During the course of my initial testing I experienced constant jamming. To fix this I swapped out the breech block with a Gunhead First Strike Adapter. The Gunhead block (Gunhead Barrel Adapter) has a larger feed port that was originally designed for First Strike rounds. I designed the block to have an easier path for the First Strike, which is a larger round with sharp edges and offending protrusions.
- The Gunhead Indexer (secondary mechanism) was useful. It held (Indexed) the rounds to keep the bolt from damaging the next round waiting in the clip.
Steps
Step 1: Position the LED leads
Bend the LED leads around as tight as possible. Don’t let the ends touch. I made sure the leads were about the thickness of a battery apart.

Step 2: Slide in the battery
If you have the orientation right, then it will light up.

Step 3: Position the Magnet
I placed a rare earth magnet on either side of the leads and the battery. However, this turned out not to work as desired. The paintballs hit so hard, even at the lowest FPS, that they would never stick. Do it anyway… All my tests were shot at walls close range. I suspect that at a distance, when the velocity drops enough, they may stick after shattering.

Step 4: Hold in Place with Heat Shrink Tube
Instead, I used 3/8” heat shrink tube cut to a length of ½”. I put everything inside the sleeve except the actual LED. Then, I hit each one with a torch. A heat gun might be a better appraoch. Bend the leads over to make the smallest package possible. This was so critical… it held the components together, even after hitting walls at 200-300 feet per second.

Step 5: Glue the Paintball Shell
I dropped the assembly into one paintball shell half, then glued the other half on. Hold for a few seconds, place aside and repeat. If they were not glued right, it’s near impossible to re-open and fix. A new shell was needed. See one such broken shell in the top part of the next image.

Results
- A near lethal projectile. The rounds launch a battery, two magnets, a LED, inside a hard-shell plastic enclosure at up to 400 feet per second (FPS). In most of the video, I set the velocity much lower. But, I would never want to get hit by one. I did get hit with ricochets of plastic and parts a few times.
- A cool look, for sure. Like rounds you would use to kill werewolves or cybernetic bad guys.
- The light from the LEDs last 18 days of noticeable light for the super-bright white LEDs. I have one still powered about 25 days right now, it’s faint, but at night even that one could be seen. However, the flashing LED only lasted 56 hours! I assume the drain was due to the circuitry used to flash the LED.
- Only bad part is how they didn’t stick to metal surfaces. Instead, they would bounce off as the paintball shell brakes. Even at the lowest velocity, they would blast off any surface.
- Again… badass effects outweigh the non-sticking.
Next level s**t:
- To get the items to stick, my plan is pack the paintball shells with a non-conductive grease. Upon impact, the grease would stick the LEDs to any surface. Which is more ideal than just ferrous metal objects.
- Make a smaller paintball shell, and one with fewer imperfections.
- The next plan is to create an LED paintball guided projectile. Like a “First Strike,” but simpler. What does that mean? …… That means 2 times the distance, 25 times more accurate, and an increase in your LT distribution radius!


